How to Grow Microgreens

Seeds
Starting with the right seeds is essential for growing healthy microgreens. Opt for high-quality seeds to ensure a strong start. Some of the best varieties for microgreens include sunflower, radish, broccoli, mustard, and pea shoots. These seeds are specifically selected for their quick growth and rich nutritional value.

Trays and Soil
To create the perfect growing environment, choose shallow trays about 2.5–5 cm deep. Trays with drainage holes are ideal, allowing excess water to escape and preventing mold. Fill the tray with a fine-textured organic potting mix or coconut coir. This soil should be slightly moist but not soggy, ensuring a balanced growing medium for your microgreens to thrive.

Preparation
Once the soil is prepared, it’s time to spread the seeds. Scatter them evenly across the surface without overcrowding. Larger seeds like peas or sunflowers may require soaking for several hours before planting, while smaller ones such as broccoli or mustard can be sown directly. Lightly press the seeds into the soil to ensure good contact, then mist them gently with water.

Germination
During the first few days, microgreens need darkness to trigger germination. Cover the tray with another tray or a light-blocking material, creating a blackout phase that mimics the conditions seeds experience underground. At this stage, maintaining warmth between 18–24°C is crucial. Check daily to ensure the soil remains damp, misting as needed.

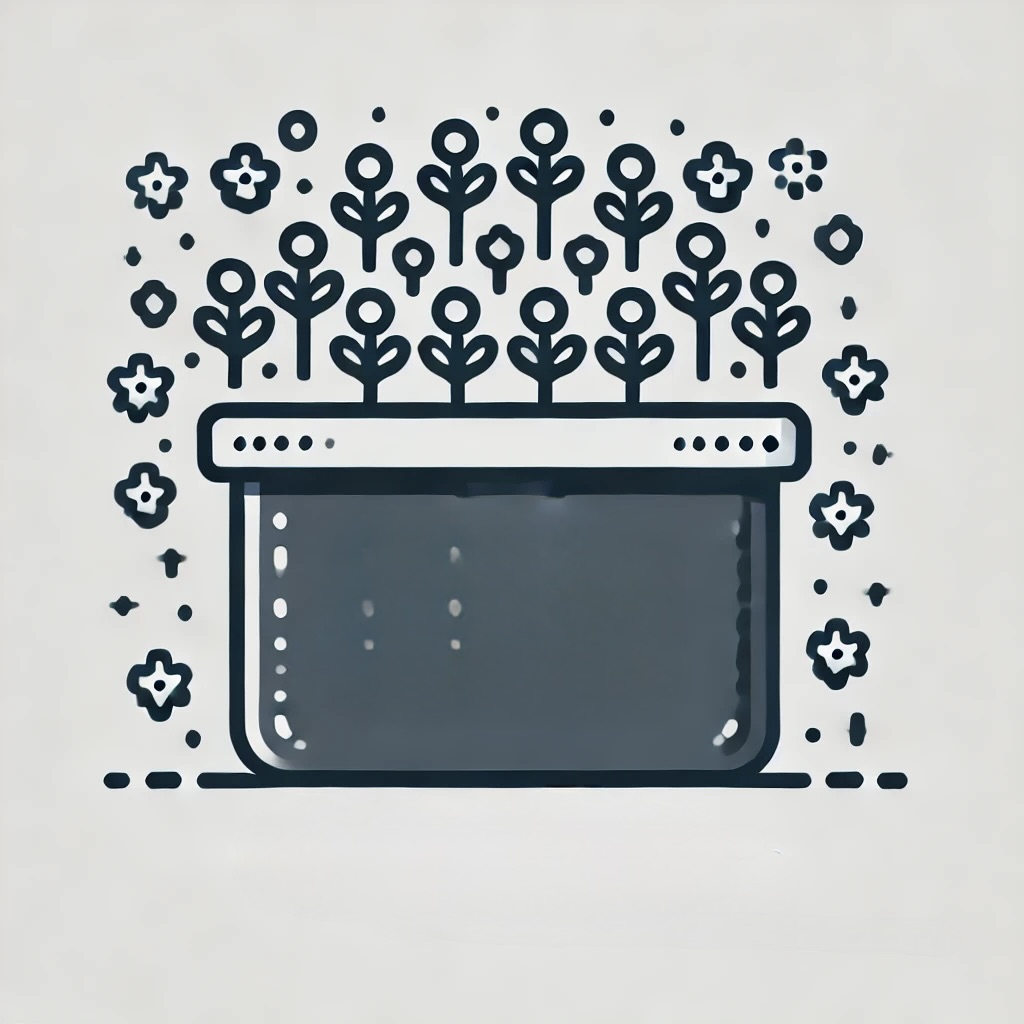
Growth
After about three to five days, when the sprouts begin to push up, it’s time to introduce light. Remove the cover and place the tray under a grow light or in a well-lit area with at least 12–16 hours of daily exposure. This encourages strong, vibrant growth. Keeping the temperature steady and ensuring proper air circulation will prevent issues like mold.
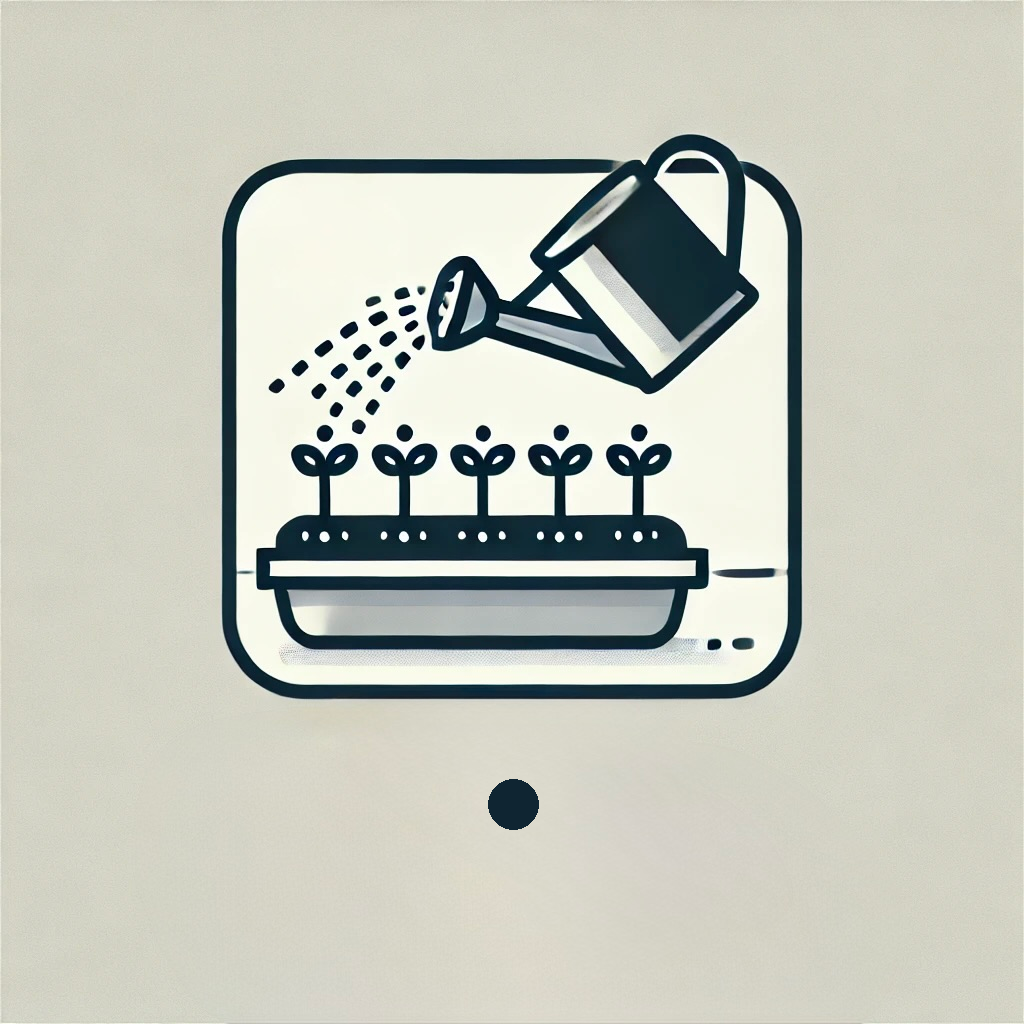
Care
Proper watering is key to healthy microgreens. Bottom-watering is an effective method—placing the tray in a shallow dish of water allows the soil to absorb moisture from below, preventing disturbance to delicate roots. If top-watering, use a spray bottle to lightly mist the plants. Monitor soil moisture to avoid overwatering, which can lead to fungal growth.

Harvesting
In just 7 to 14 days, your microgreens will be ready to harvest. Look for the first set of true leaves forming, signaling their peak nutritional value. Using sharp scissors, cut them just above the soil level. Be gentle to avoid damaging the remaining plants, and collect only what you need to keep the rest fresh.
Storing
Freshly harvested microgreens should be stored properly to maintain their crisp texture and nutrients. Place them in an airtight container lined with a paper towel to absorb any excess moisture. Stored in the refrigerator, they will stay fresh for up to a week. Enjoy them in salads, sandwiches, or smoothies for a nutritious boost.

Funded by the European Union. Views and opinions expressed are however those of the author(s) only and do not necessarily reflect those of the European Union or the European Education and Culture Executive Agency (EACEA). Neither the European Union nor EACEA can be held responsible for them.
Project Number: 2023-3-CY02-KA210-YOU-000173087